
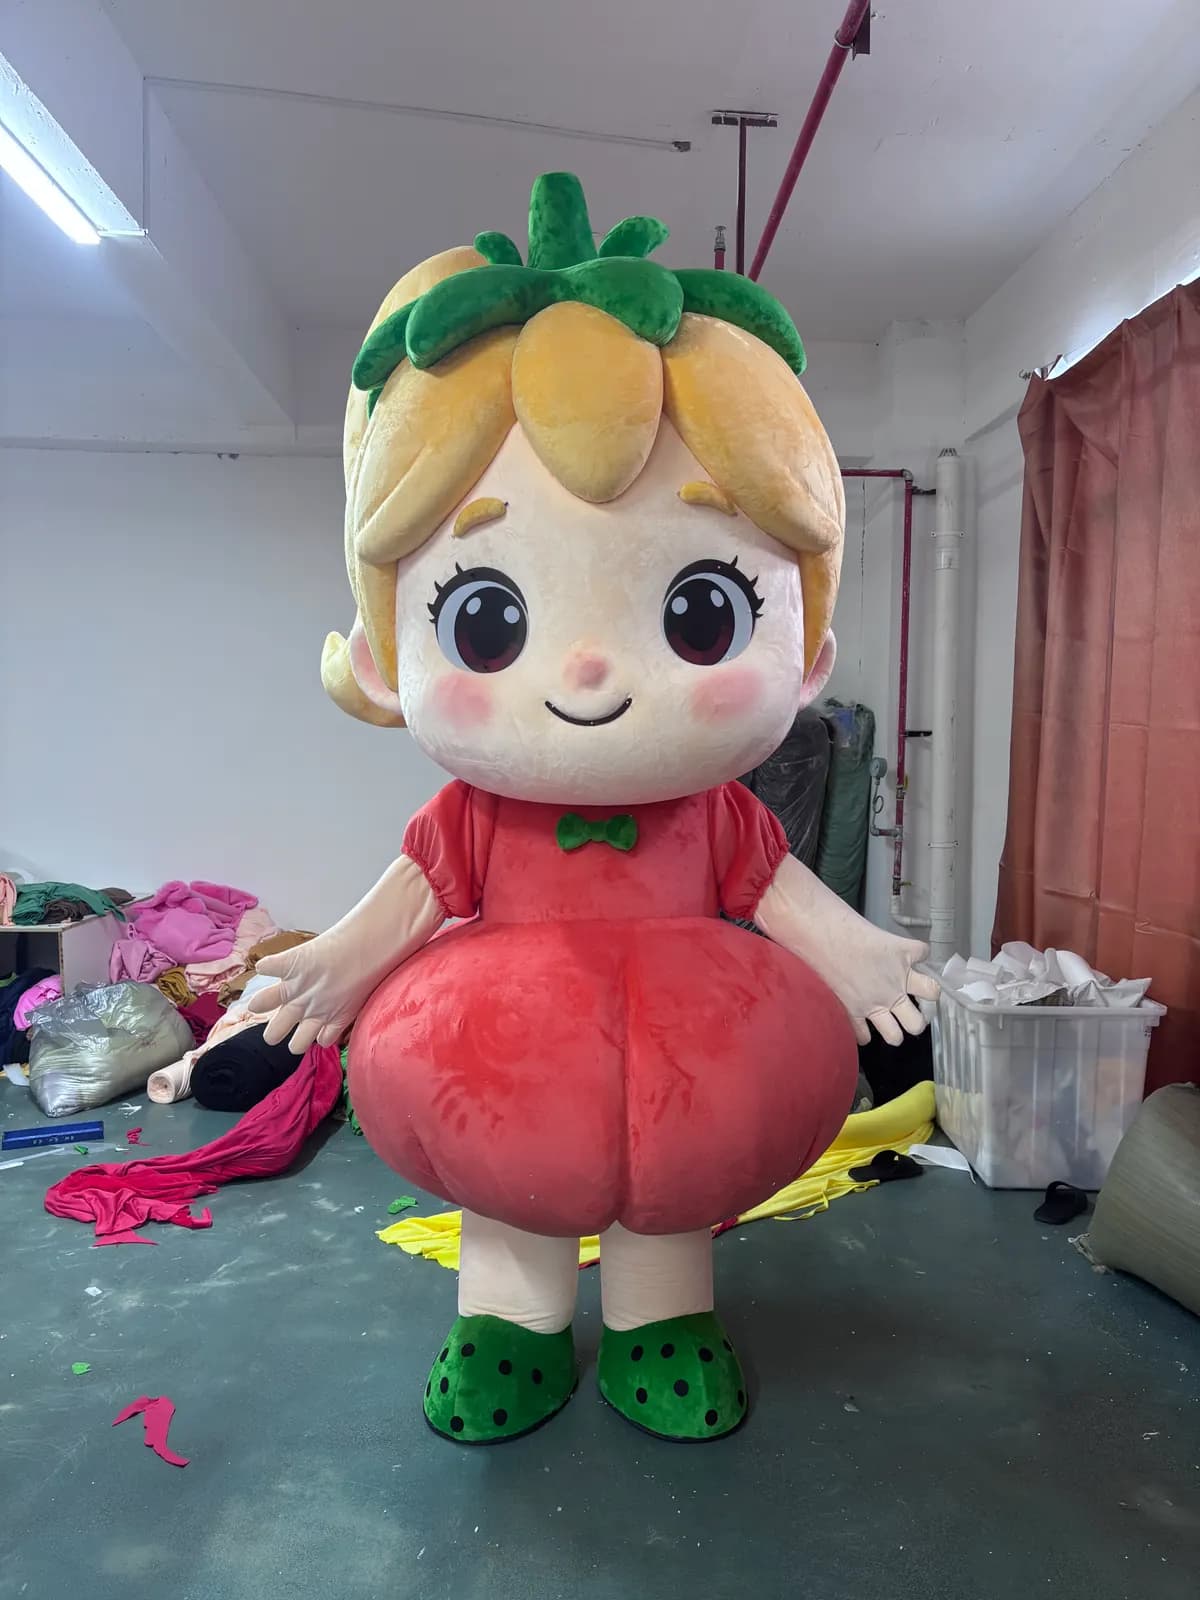
From Drawing to Costume: How to Brief a Mascot So It Comes Back Right
Most disappointing mascot costumes were not built badly. They were briefed badly — a flat logo, a colour named rather than specified, and nobody stating what the character had to be able to do. This is the brief we wish arrived with every order, and what happens to it in the workshop afterwards.
9 min read
In short
- A flat front-view logo is not enough. A maker has to invent the side, the back and the volume — and every invention is a place your character can come back wrong.
- Specify colour as a physical reference (Pantone TCX/TPG or a fabric swatch), never as a name or a screen colour. Fur dyes and RGB do not share a vocabulary.
- The sculpt photo approval is the decision point of the whole build. After fur goes on, changing the face means rebuilding the head.
- Say what the character must do — run, kneel, hug, hold a prop, climb stairs — before design starts. Half of all late changes are function arriving after form.
What a brief has to contain
A brief is not a mood board. It is the set of decisions a workshop cannot make on your behalf, written down once so that nobody guesses. Ours fits on one page, and an order that arrives with all of it usually needs no revision rounds at all.
| Item | What to send | If it is missing |
|---|---|---|
| Artwork | Front and side views if you have them; vector or 300 dpi raster | The maker invents the profile, and the face reads wrong from the side |
| Colours | Pantone TCX/TPG references or posted fabric swatches | Fur is matched to a screenshot and arrives a shade off, permanently |
| Character personality | Three adjectives and one reference image | A friendly character comes back looking severe, or vice versa |
| Where it will be used | Indoor, outdoor, stadium, retail, touring | Wrong fur weight, wrong sole, no thought about transport |
| What the performer must do | Run, kneel, dance, hold a prop, climb stairs, hug children | Costume looks right and cannot be worked in |
| Performer measurements | Six numbers, or a range for a shared costume | Fit problems that adjustment cannot fix — see the sizing guide |
| Deadline and the date behind it | Event date, not "as soon as possible" | Air freight bought in a panic, or a rushed approval |
| Who approves | One named person | Three opinions arriving at three different stages |
- A brief that works
- 1 page
- Photo rounds at the sculpt stage
- 2 – 3
- Sample build once the brief is settled
- 7 – 12 d
Artwork that survives the trip into three dimensions
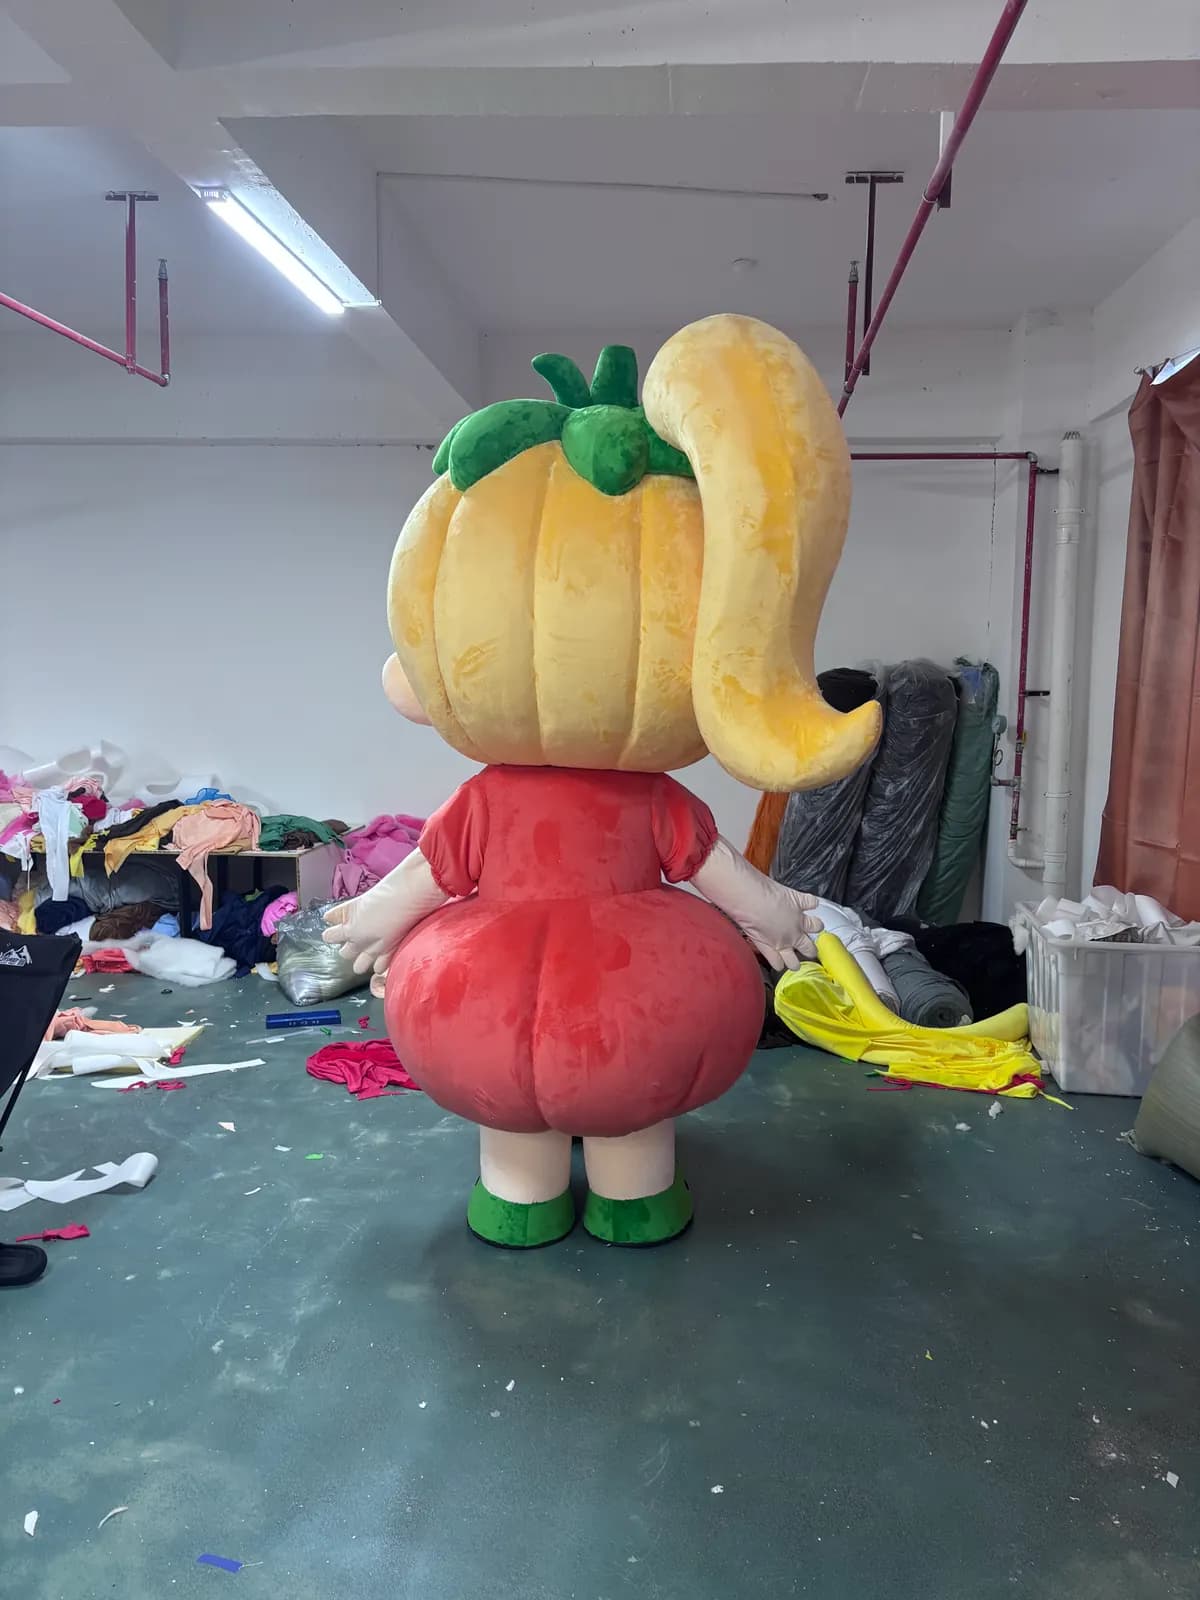
Character drawings are made for a single flattering angle. A costume is seen from every angle, by people standing closer than any drawing assumes, usually from below because the audience is often children.
Three features cause most of the trouble. Eyes drawn as flat shapes have no depth to translate. A chin drawn tiny leaves nowhere for a performer's face. And a logo with fine internal lines — a monogram, a thin outline, small text — turns into either embroidery or an applique patch, because fur cannot hold a 3 mm line.
Briefs well
- Front and side views, or any second angle at all
- Large simple shapes, readable at ten metres
- A chin and jaw with volume in them
- Colour given as a physical reference, not a screen value
Briefs badly
- A single flat front-view logo with no depth cues
- Fine internal lines and small text inside the face
- Eyes as two flat circles with no indication of set or depth
- "Our brand red" with no reference attached
How colour is actually matched
Colour is where more disappointment originates than any other single item, and almost always because the reference was ambiguous. A screen shows colour as emitted light; fur shows it as dyed fibre with a pile that changes value depending on which way it lies. The same dye lot photographs as two different colours depending on the angle.
Specify a physical standard. Pantone TCX or TPG references exist for exactly this, and any serious supplier can work to them or tell you honestly that a shade is not achievable in the pile length you want.
| Method | Accuracy | Notes |
|---|---|---|
| Posted fabric swatch | Highest | What we match against under standard lighting. Send two if you have them |
| Pantone TCX / TPG reference | High | Designed for textiles; see Pantone's system explainer |
| Pantone C / U (print references) | Medium | Usable as a target, but built for ink on paper |
| CMYK or RGB value from brand guidelines | Low | A starting point only — we will convert and confirm |
| A screenshot or a photo of the logo | Very low | Depends on your screen, your camera and the light |
| A colour name | None | "Sky blue" has no defined value. Nothing can be matched to it |
Dyed fur also fades with UV exposure; where a costume lives outdoors, ask for the fastness rating of the fabric under ISO 105-B02.
What you are approving, and when
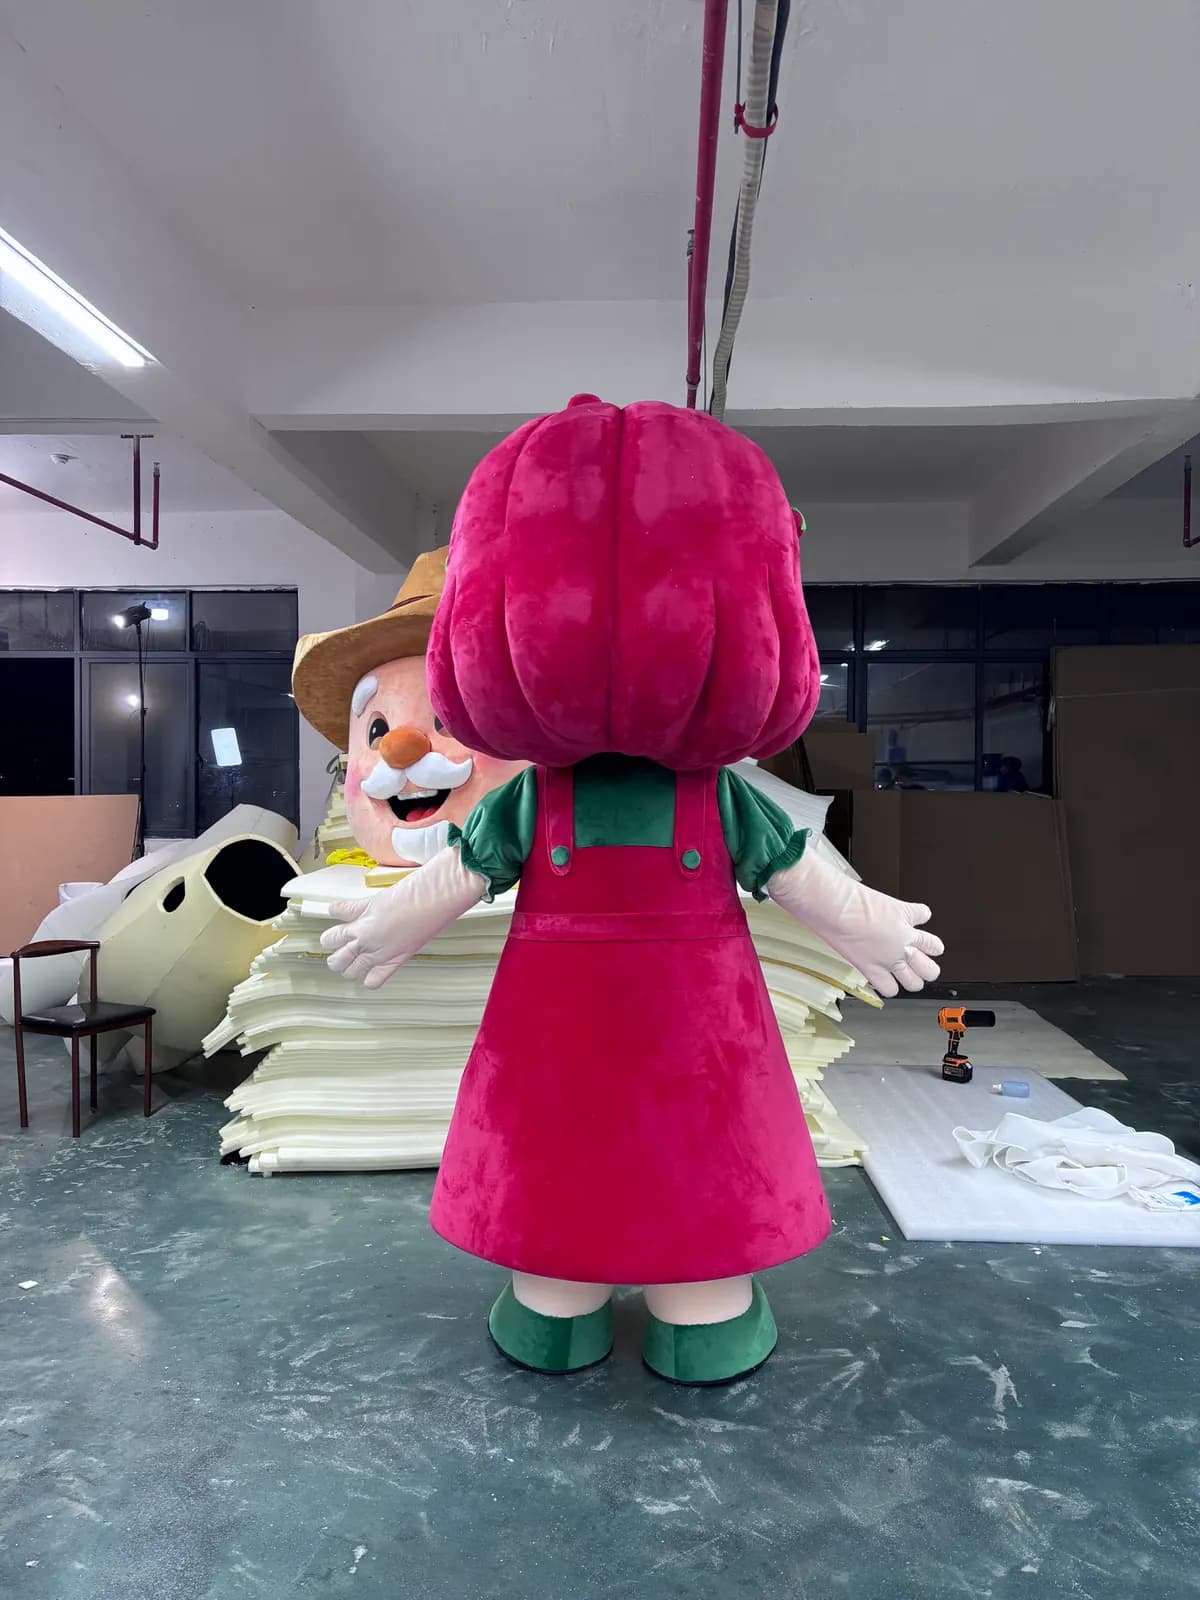
The build runs through a fixed set of gates. Each one is cheap to change before it closes and expensive afterwards. The important one is the third: once fur goes onto an approved sculpt, the face is decided.
Concept
Day 1 – 3
Line drawing from your artwork, showing front, side and the proportions we intend to build
You approve proportion and silhouette
Foam sculpt
Day 4 – 8
Head carved in foam, unfinished. Photographed from five angles under even light
The decision point: face, brow, muzzle, eye set
Fur and finish
Day 9 – 14
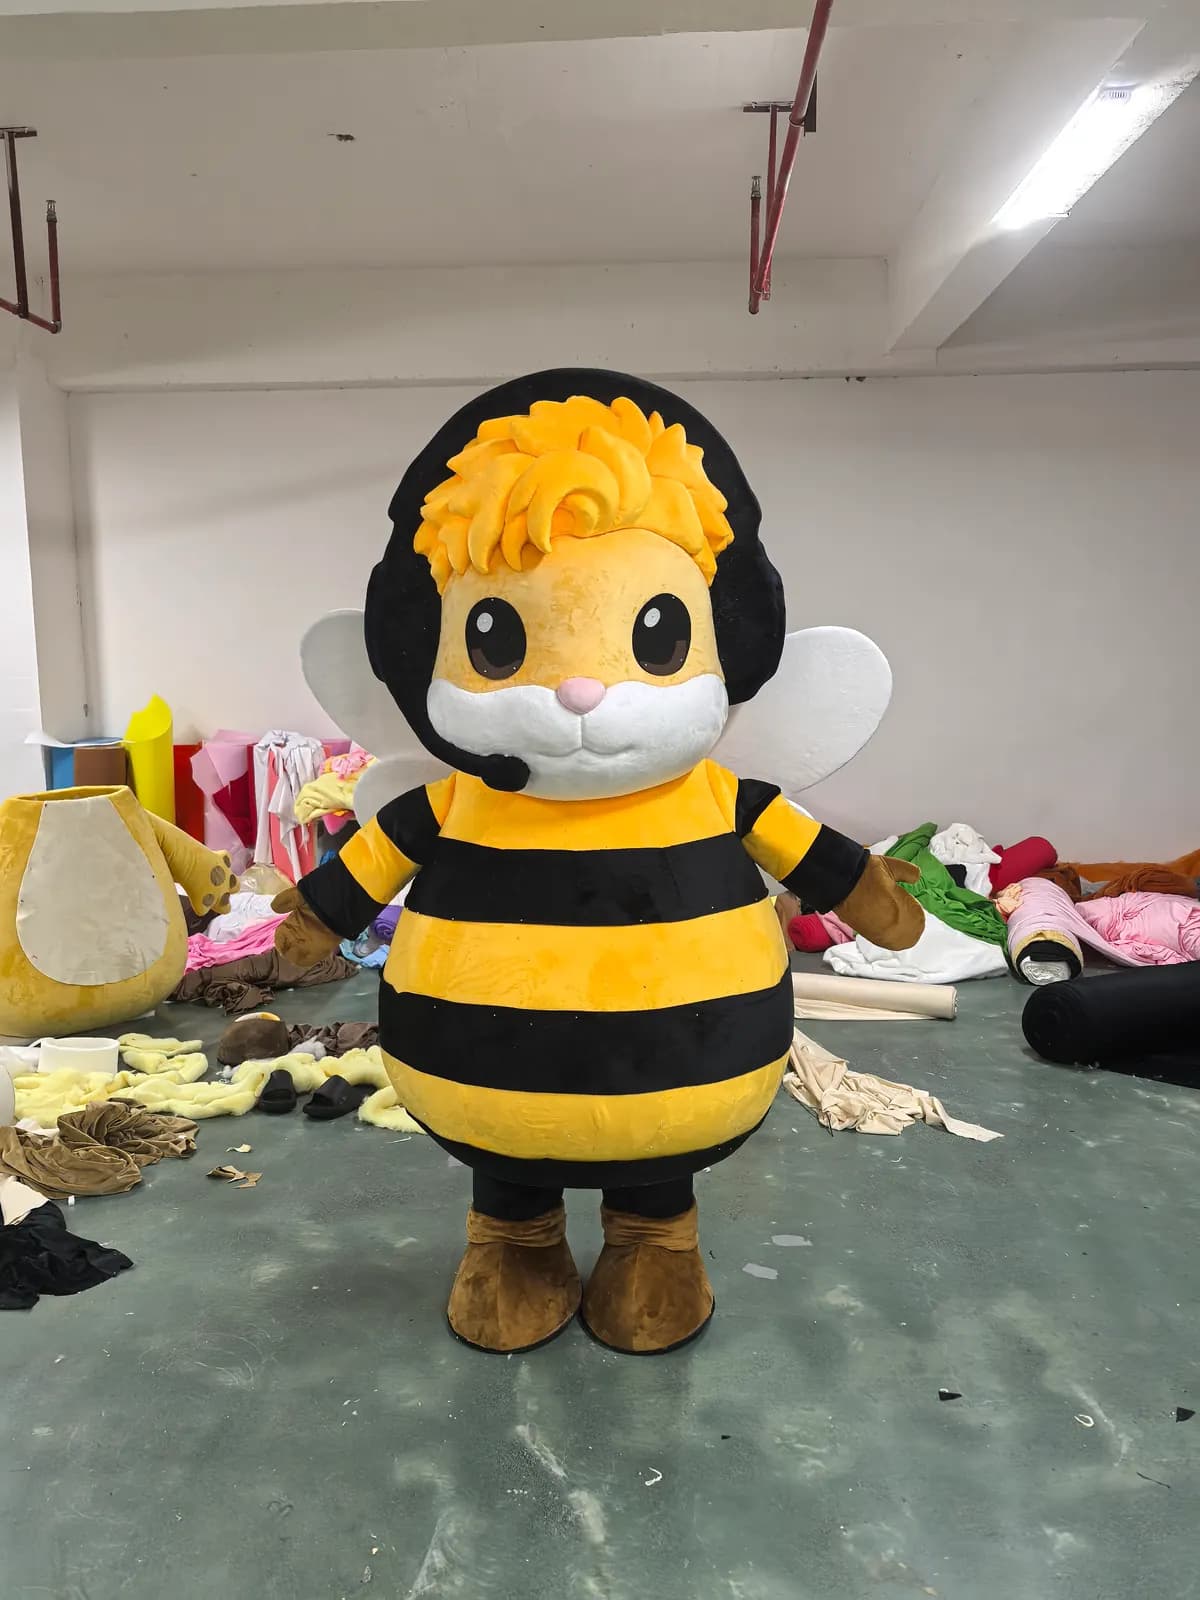
Fur applied, eyes set, mouth and details finished; body suit patterned and sewn
Colour and detail check against your references
Fit-out
Day 15 – 18
Harness, fans, vision mesh, linings, garments and feet fitted to the stated measurements
Walk-test video sent for approval
QC and dispatch
Day 19 – 22
Seam check, safety check, photographs for the file, packed in a rigid case
You approve shipping
Revisions: what is free and what is not
"Unlimited revisions" is a common promise and a meaningless one, because the cost of a change depends entirely on when it arrives. What matters is knowing the price of changing your mind at each stage before you are at that stage.
| Change requested at | Cost | Why |
|---|---|---|
| Concept drawing | Free | Nothing has been cut. Change as much as you like here |
| Foam sculpt, before fur | Free to small | Foam can be re-carved or re-blocked; only labour is lost |
| After fur is applied | Head rebuild | Fur cannot be lifted and re-laid. This is a new head |
| Body suit, before cutting | Free | Pattern change only |
| Body suit, after cutting | Materials plus labour | Fabric is cut to the pattern; panels cannot be un-cut |
| Colour change after dyeing | New material order | Dye lots are ordered per build |
| Fit adjustment at any point | Free | Harness, hems and padding are designed to be adjusted |
The handoff checklist
Before you sign off the brief, walk through this. It is short, and it removes the ambiguities that turn into revisions.
1
Two angles of artwork
Front plus any second angle, even a rough sketch. State which is authoritative if they disagree.
2
Physical colour references
Swatches posted or TCX/TPG codes listed against each part of the character.
3
Function list
Everything the performer must do in the costume, in plain sentences.
4
Measurements
Six numbers per performer, or the roster range for a shared build.
5
One approver and a date
A named person, an event date, and the date approvals must be back by to hit it.
Two more points that belong in the same conversation. If the character is licensed or trademarked, say so in writing and send the permission — a serious factory will ask, and one that does not ask is a risk to you, not a convenience. And if you expect a second or third costume of the same character later, say that now: pattern, dye lots and sculpt tooling can be kept, which is most of the reason a repeat build costs less.
For the numbers behind all of this, our cost breakdown sets out where the money goes stage by stage, and the China sourcing guide covers what to verify about the factory itself before any of this starts.
Frequently asked questions
What do I need to send to get a mascot costume made?
Artwork from at least two angles, physical colour references (Pantone TCX/TPG codes or posted swatches), a short list of what the performer must be able to do, the six performer measurements, your event date, and the name of the one person who approves. That one page is enough to start a build without guesswork.
Can you make a mascot costume from just a logo?
Yes, and it is common — but understand what happens: the maker invents the side view, the depth of the face and the body proportions. Approving a concept drawing before sculpting starts is what keeps that invention aligned with what you had in mind.
How exactly can you match our brand colours in fur?
Very closely when given a Pantone TCX/TPG reference or a posted fabric swatch, because those are physical standards. Matching to an RGB value or a screenshot is approximate, since a screen emits light and fur reflects it, and a pile changes value with the direction it lies.
When is it too late to change the face?
Once fur has been applied to the approved sculpt. Before that, foam can be re-carved at little or no cost. This is why the five-angle photograph set of the bare sculpt is the single most important approval in the project.
How long does a custom mascot costume take to make?
Roughly three weeks of working days from a settled brief for a sample: concept in days one to three, sculpt by day eight, fur and finish by day fourteen, fit-out and QC to around day twenty-two. Approvals sitting in somebody's inbox are what usually extends it, not the workshop.
Do I keep the rights to the character design?
With us, yes — the character is yours, and the artwork and patterns are made for your order. If the character is licensed from someone else, send the written permission with the brief; any factory that does not ask about licensing is one you should think twice about.
What if we order a second costume later?
Say so at the brief stage. Patterns, the sculpt and the colour specification can be retained, so a repeat build skips most of the development work. The one thing that cannot be repeated exactly is a dye lot, so two costumes that must match perfectly should be built together.
About the author
- Building mascot costumes in Shenzhen since 2013
- About 3,000 costumes a month, shipped to 60+ countries
- Writes from the cutting table, the sewing line and the pre-shipment QC bench
Sources
External links open in a new tab and are provided for verification, not endorsement.